Are you ready to grow your very own pomegranate tree? It’s an exciting journey filled with juicy rewards! In this article, I’ll share everything you need to know—from selecting the best seeds to transplanting your seedlings—so you can enjoy delicious pomegranates right from your garden. Let’s dig in and get started!
Selecting Healthy Pomegranate Seeds for Planting
Choosing the right seeds is the first exciting step in growing your own pomegranate tree! I mean, who doesn’t want to start off their gardening journey with the best possible ingredients? Here’s what I like to keep in mind when selecting healthy pomegranate seeds:
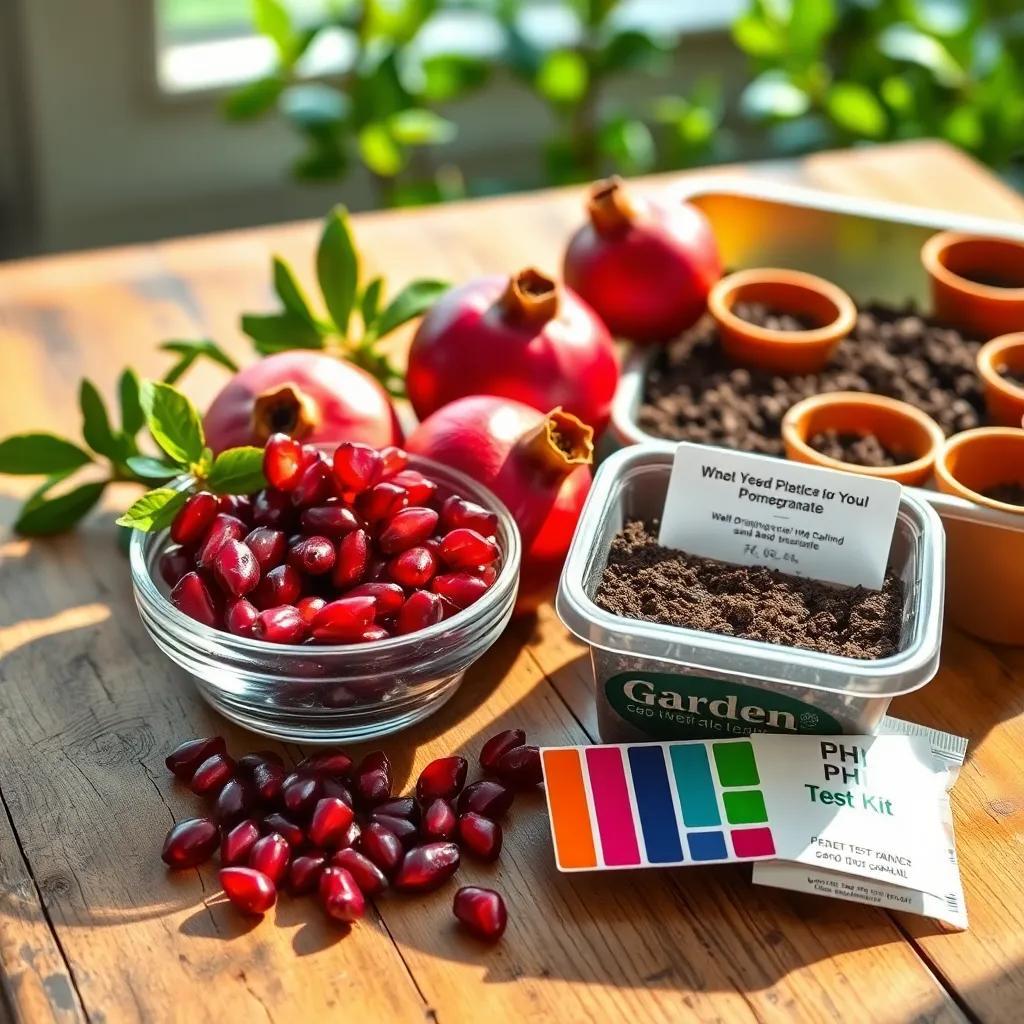
- Source: Look for seeds from a reliable source. You can find them at local garden centers, nurseries, or even online. If possible, opt for seeds from organic pomegranates, as these tend to have better germination rates and fewer chemicals involved.
- Appearance: When picking the seeds, make sure they are plump and firm. Avoid any seeds that look shriveled or dried out. Healthy seeds should have a shiny outer coating. A little gleam can say a lot about their vitality!
- Seed Variety: Pomegranates come in many varieties, and each has its unique flavor and growth habit. Make sure to choose a variety that suits your climate and taste preferences. Some popular choices include ‘Wonderful’ and ‘Angel Red.’
- Germination Check: Sometimes, I like to soak the seeds in water for about 24 hours before planting. This helps me see which seeds float (they’re probably not viable) and which sink, indicating they are likely to germinate. It’s like a little seed test—who doesn’t love a good experiment?
By paying attention to these details, your chances of success grow higher! Once you’ve got your seeds selected, you’re already on your way to planting your delicious pomegranates. Are you excited yet? I know I am!
Preparing the Soil for Pomegranate Seed Germination
Now that you’ve chosen your seeds, let’s talk about the equally important soil preparation! This part is like making the perfect bed for your seeds to snuggle into. Here’s how I like to get my soil ready:
- Choose the Right Soil: Pomegranates thrive in well-draining soil. I usually mix potting soil with some sand or perlite to improve drainage. This combination helps the roots breathe and grow strong!
- Test pH Levels: Pomegranates prefer slightly acidic to neutral soil, with a pH of around 5.5 to 7.0. You can buy a simple soil pH test kit at any gardening store. Don’t worry, it’s easy to do! If your soil is too acidic, adding lime can help. Too alkaline? A little sulfur works wonders.
- Prepare Containers: If you’re starting your seeds indoors, choose containers with drainage holes. Think of them as cozy little homes for your seeds! I often use seed trays or small pots. Fill them with your soil mix, leaving about an inch of space at the top.
- Moisture is Key: Before you plant, make sure your soil is moist but not soggy. I like to water it lightly and let it sit for a few hours. This helps the soil settle and creates a cozy environment for seed germination.
With your soil prepared, you’re all set to plant those seeds! It’s exciting to think about the little green shoots that will soon emerge. Happy planting!

Watering Techniques for Pomegranate Seedlings
Alright, let’s talk about watering techniques for those precious pomegranate seedlings! Watering is like giving your plants a refreshing drink, but we want to do it just right. Too little, and they’ll be thirsty; too much, and we risk drowning them! Here’s my go-to guide for keeping them happy and healthy:
- Initial Watering: After planting your seeds, give the soil a good drink! I like to water it thoroughly until the moisture reaches down to the root zone. This helps settle the soil around the seeds, giving them a cozy start.
- Routine Check: Once your seeds start germinating, check the soil moisture regularly. Stick your finger in the soil up to the first knuckle. If it feels dry, it’s time to water! If it’s still moist, wait a bit longer. This helps prevent that dreaded root rot!
- Watering Frequency: For the first few weeks, I usually water my seedlings every couple of days. But as they grow, you can extend this to about once a week. Just make sure to go deep! I aim to soak the soil well, allowing the top inch to dry out before the next drink.
- Methods to Water: Using a watering can with a fine spout is my favorite method. It lets me target the base of the seedlings without splashing water everywhere! You could also use a spray bottle if you’re starting with seeds. It’s super gentle and keeps the soil from washing away.
By following these watering tips, your pomegranate seedlings will not only stay hydrated but also grow stronger and healthier! Happy watering!
Sunlight Requirements for Optimal Growth
Now that we’ve covered the essentials of watering, let’s shine a light on the importance of sunlight for your pomegranate seedlings! Just like us, plants love a sunny spot to grow. Pomegranates are sun worshippers, so here’s how to give them their dose of sunshine:
- Full Sun Exposure: Pomegranate seeds need at least 6 to 8 hours of direct sunlight each day. If you’re growing them indoors, place them near a south-facing window where they can soak up those rays. Outdoors, find a sunny spot in your garden where they won’t be shaded by other plants.
- Signs of Insufficient Light: Watch for signs that your seedlings aren’t getting enough light. If they seem leggy or stretched out, with small leaves, they might be telling you they need more sun! If that’s the case, simply move them to a brighter location.
- Using Grow Lights: If natural sunlight is hard to come by, consider using grow lights. These special lights mimic sunlight and can really help your seedlings thrive. Just make sure to keep the lights on for about 12 to 16 hours a day for best results!
- Rotating Your Seedlings: I like to rotate my seedlings every few days. This way, all sides get equal sun exposure, leading to balanced growth. Plus, it prevents them from leaning too much in one direction—nobody likes a crooked plant!
With ample sunlight, your pomegranate seedlings will grow strong and vibrant! Get ready for those little green shoots to stretch towards the sky!
Transplanting Seedlings to Their Permanent Location
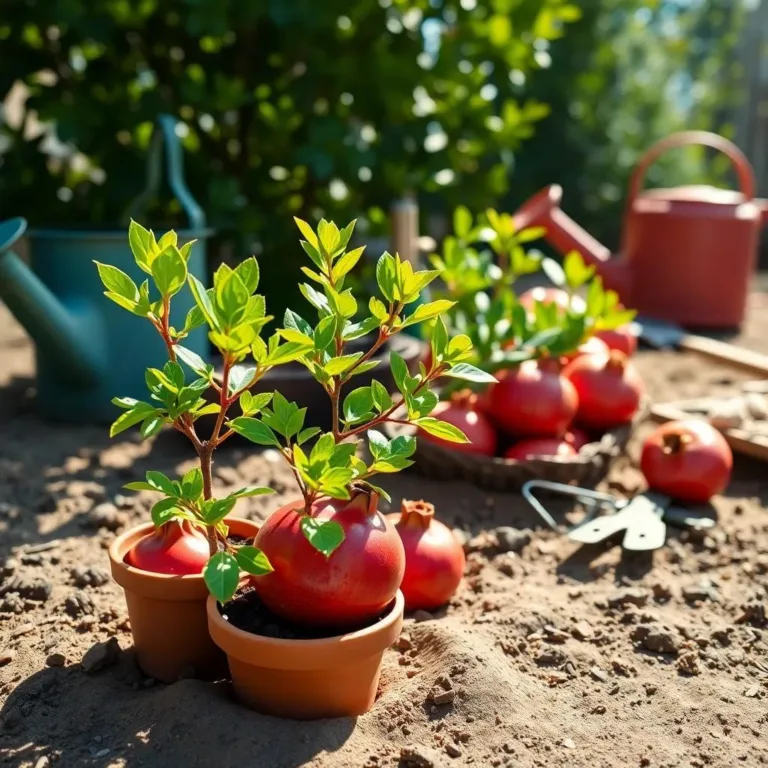
The time has come! Your pomegranate seedlings are growing strong, and now it’s time for the exciting process of transplanting them to their permanent home. This step is super important because it allows your plants to grow deeper roots and flourish. Here’s how to do it:
- When to Transplant: The best time to move your seedlings is in the early spring when they have at least two sets of true leaves. This indicates they are ready for their new adventure!
- Choosing the Right Spot: Find a location in your garden that receives full sun and has well-draining soil. I like to make sure the area is clear of weeds and anything that might compete for nutrients.
- Preparing the Hole: Dig a hole that is about twice the size of the seedling’s root ball. I usually aim for a depth that allows the top of the root ball to be level with the surrounding soil. This helps the roots breathe and promotes healthy growth.
- Transplanting with Care: Gently remove the seedling from its pot, being careful not to damage the roots. I like to loosen the root ball a little if it looks crowded—this encourages the roots to spread out in their new home. Place the seedling in the hole and backfill with soil, giving it a good pat to eliminate air pockets.
- Watering After Transplanting: After transplanting, water your seedlings thoroughly. This helps settle the soil around their roots and reduces transplant shock. Keep an eye on them for the next few weeks, monitoring moisture levels.
By taking these steps, your pomegranate seedlings will settle into their new home and continue to grow beautifully! Before you know it, you’ll be watching them flourish into strong, healthy plants, ready to produce delicious fruit! Happy transplanting!

