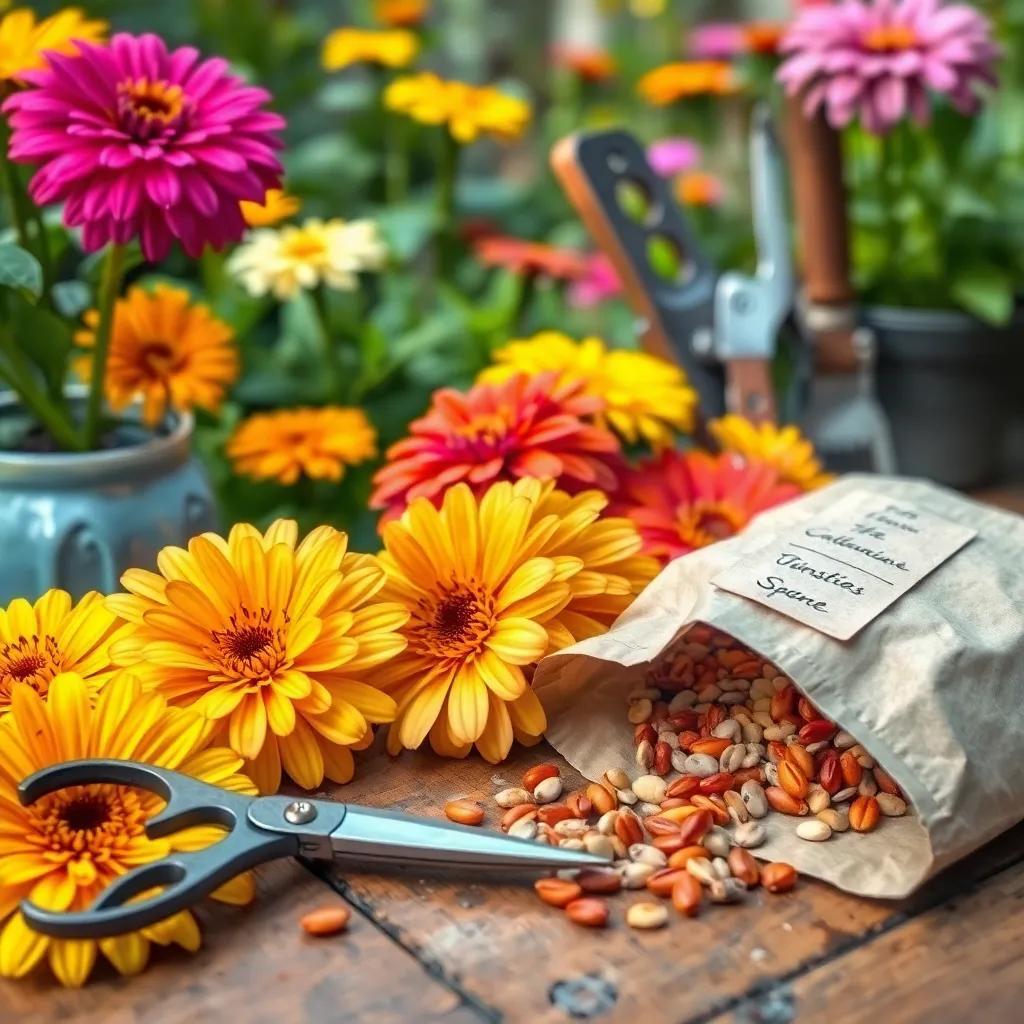
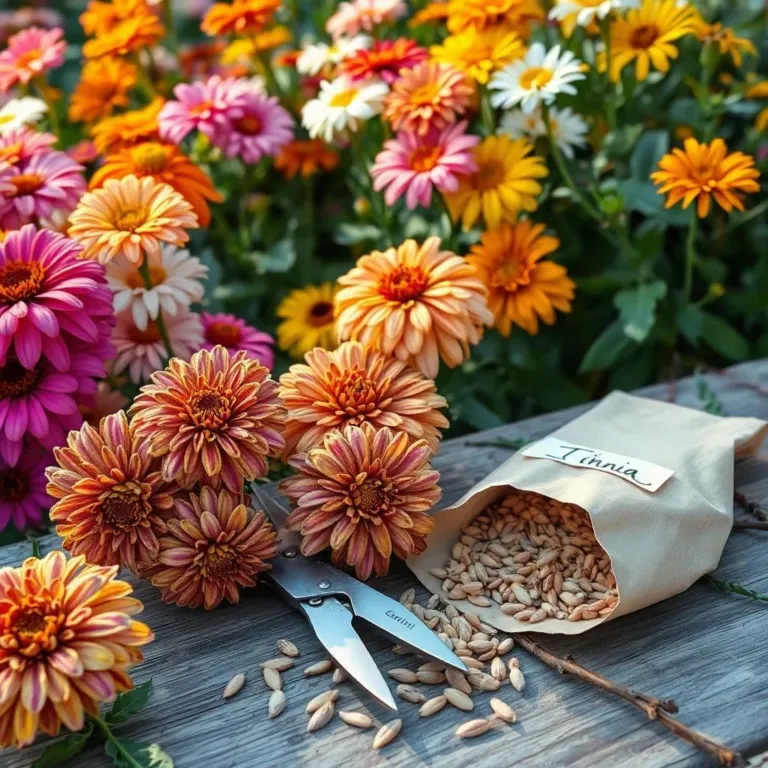
Are you ready to transform your garden into a colorful oasis? Saving zinnia seeds is not only fun, but it can also save you some cash for your next gardening adventure! Join me as I share my tips and tricks for harvesting, cleaning, and storing zinnia seeds, so you can enjoy these beautiful blooms year after year!
When to Harvest Zinnia Seeds
Timing really matters when it comes to harvesting zinnia seeds! I mean, who wants to collect seeds that aren’t even ready, right? Not me! To get those plump, healthy seeds, it’s best to wait until the flower heads have dried out completely on the plant. This ensures the seeds are mature and prepared for the next big adventure in your garden.
So, when do you know it’s the right time to grab those seeds? Here are some handy tips to keep in mind:
- Watch the Petals: When those beautiful petals start to fade and turn brown, it’s a sign that the flower is nearing its end. That’s when you should start paying close attention!
- Check the Feel: Gently squeeze the flower head. If it feels dry and brittle, it’s harvest time! If it feels squishy or damp, give it a bit more time. Remember, patience pays off.
- Seed Cap Alert: If you notice a papery substance forming around the seeds, it means they’re ready to be collected. This seed cap is like a little flag waving “Pick me!”
- Harvest from the Base: Fun fact! The seeds at the base of the flower head mature first. It’s a brilliant idea to collect seeds from the lower portion first—this keeps everything neat and tidy!
I like to check my zinnias every few days towards the end of the season, since the timing can vary. Keep an eye out, and you’ll be rewarded with a great seed harvest! Remember, gathering seeds too early could lead to disappointment, so give them the time they need to develop fully. Happy harvesting!
Preparing to Harvest Zinnia Seeds
Alright, my fellow gardening friends, we’re almost there! Before we jump into the harvesting excitement, it’s time to prepare. Think of this as getting ready for a big party—nobody wants to show up unprepared! Here’s how to set yourself up for success when it comes to harvesting zinnia seeds:
- Choose Your Stars: Start by selecting the healthiest zinnia plants. Look for those with vibrant blooms and strong stems. I always pick the best ones—the cream of the crop!
- Gather Your Tools: You’ll need a few supplies. Get yourself:
– Sharp, clean scissors or pruning shears (safety first!).
– A paper bag or container to collect your seeds. (I love using paper bags—they’re like little seed treasure chests!)
– A marker to label your seeds for future reference.
- Pick the Right Day: Make sure the weather is dry when you plan to harvest. Harvesting on a wet day can lead to moisture issues. We don’t want moldy seeds, yuck!
- Prepare for Isolation: If you have multiple zinnia varieties, think about isolation! This helps to keep the seeds true to their parent plants, avoiding any mix-ups.
By following these easy-peasy steps, you’ll be ready to collect seeds like a pro! The anticipation of gathering those little treasures is almost as enjoyable as planting them. Just remember, preparation is key, and with a little organization, you’ll be harvesting seeds in no time! Let’s get ready for the next exciting step—harvesting those seeds!

Harvesting Zinnia Seeds: Step-by-Step Guide
Alright, fellow garden enthusiasts! It’s time to roll up our sleeves and get down to the fun part—harvesting zinnia seeds! This is where the magic happens, and you’ll feel like a gardening rockstar. Let’s dive into the steps to successfully gather those precious seeds!
- Choose the Right Flowers: Start by selecting the flower heads that are fully dried out. Look for those lovely blooms with brown, brittle petals. These are the stars of your seed-saving show!
- Hold with Care: Gently grasp the base of the flower head between your fingers. Be gentle! We don’t want to squish the seeds and send them flying everywhere.
- Cut Off the Flower Head: With the other hand, use your sharp scissors or pruning shears to snip the flower head from the stem. I like to leave a little stem attached; it makes them easier to handle while you’re working.
- Remove the Petals: Carefully peel away the dried petals. They should come off easily, revealing the seed head. This is where the magic lies!
- Extract Those Seeds: Now, hold the seed head over a clean paper bag or container. Gently shake or tap it to release the seeds. You might have to give it a little love tap. Make sure to collect everything that falls!
- Clean Up a Bit: As you remove the seeds, keep an eye out for any debris, like bits of petal or twigs. Discard these so that only the seeds remain.
That’s it! Keep harvesting until you’ve gathered seeds from all the chosen flower heads. You’ll feel a rush of excitement as you see all those tiny gems waiting for their chance to bloom again!
Cleaning and Drying Zinnia Seeds
Congratulations on your successful harvest! Now that you have those delightful zinnia seeds in hand, it’s time for the next step: cleaning and drying them. This part is essential to keep your seeds fresh and viable for next planting season. Here’s how to do it:
- Remove Debris: Start by blowing away any leftover bits of petals or plant matter. If you have a gentle fan, use it to help clear the seeds. We want them nice and clean!
- Water Floatation Method: Here’s a neat trick! Place the seeds in a clean container filled with water. Gently swirl them around—this helps separate any floating seeds that are non-viable. Keep the seeds that sink; they are the keepers!
- Strain and Rinse: After swirling, strain the seeds using a fine mesh sieve or cheesecloth. Give the seeds a quick rinse under cool running water to remove any remaining impurities. Remember, clean seeds are happy seeds!
- Drying Time: Spread your now clean seeds out on a paper towel or a dry surface. Make sure they’re in a single layer; we want them to air dry! Place them in a well-ventilated area but keep them away from direct sunlight. Too much sun can ruin them!
- Patience is Key: Let your seeds dry completely. This can take anywhere from one to three weeks. You’ll know they’re done when they feel hard and dry to the touch. Don’t rush this step; your future flowers will thank you!
With clean and dry seeds, you’re one step closer to a blooming garden. Trust me, it’s all worth it when you see those beautiful zinnias popping up in your garden next season!
Storing and Planting Saved Zinnia Seeds
Now that you’ve cleaned and dried your zinnia seeds, it’s time to think about storing and planting them! This is the part where you start dreaming about all the colorful blooms that are just waiting to explode in your garden. Here’s how to do it right:
Storing Your Seeds:
- Label Your Containers: Grab some envelopes or small containers. Don’t forget to label them! Include the variety, color, and the year of harvest. This helps keep everything organized for future planting. Trust me, this will save you some head-scratching later!
- Keep Things Dry: Before placing the seeds in their new homes, double-check that they are completely dry. Moisture can lead to moldy seeds, and we don’t want that! If you’re unsure, let them air dry a little longer.
- Find a Cool, Dark Spot: Choose a cool and dark storage location for your zinnia seeds. A pantry or a cool basement works perfectly. Avoid areas with high heat or sunlight to maximize the seeds’ life.
- Extra Protection: Consider adding a small desiccant packet or some silica gel packets to your containers. These little guys help absorb any excess moisture and keep those seeds safe and sound.
- Regular Check-Ins: It’s a good idea to check your stored seeds periodically. Look for any signs of mold or bugs. If you notice any issues, deal with them quickly!
Planting Your Seeds:
When spring rolls around and you’re ready to plant, make sure to follow these steps:
- Select a Sunny Spot: Zinnias love the sun! Choose a location that gets at least 6-8 hours of sunlight daily.
- Prepare the Soil: Loosen the soil and mix in some compost. This gives your zinnias the nutrients they need to thrive!
- Sow the Seeds: Scatter your zinnia seeds over the soil, covering them lightly with a thin layer of dirt.
- Water Gently: Keep the soil moist but not soggy. A gentle spray or watering can works wonders.
And voilà! You’re set up for a colorful garden filled with beautiful zinnias! Just think of the joy that awaits as you watch your flowers bloom from the seeds you’ve lovingly saved. Happy planting!

